
Setting up VMs (from scratch) for game backend development
Set up a Linux server environment
There are many ways to set up a Linux server environment, I’ve walked through the exact steps I followed here in case you need to start from scratch or understand a dependency. You may likely succeed with other steps / versions of software as well.
1. Open Hyper-V Manager. (Windows 10 Pro)
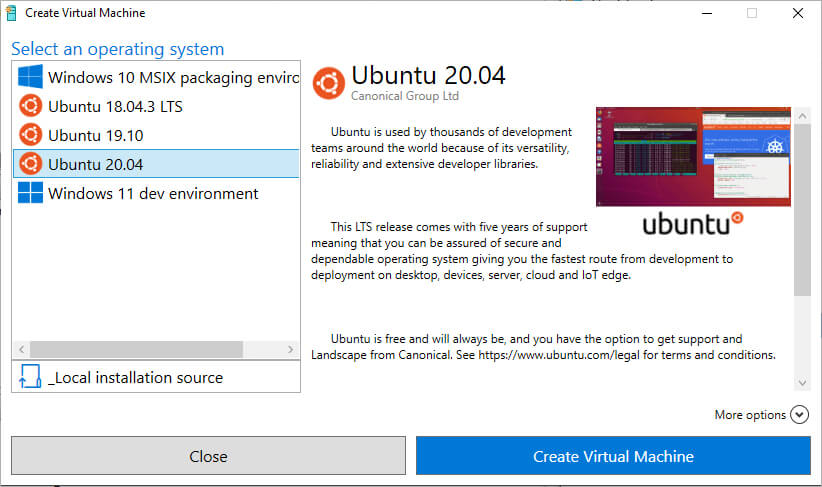
2. Use “Actions” → “Quick Create…” and create an Ubuntu 20.04 virtual machine.
3. Connect to and start the newly-created VM. You may need to manually select “Ubuntu” from a boot menu.
4. Proceed through operating system setup and creating of your user account. I recommend leaving autopatch, system error reporting, and location services all disabled.
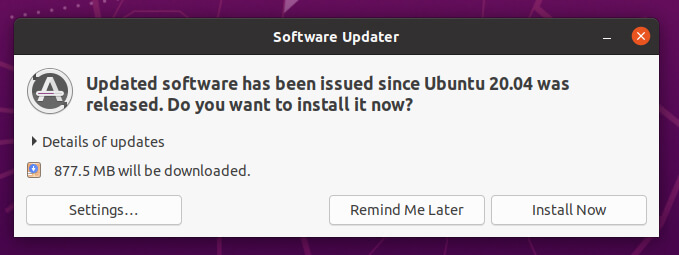
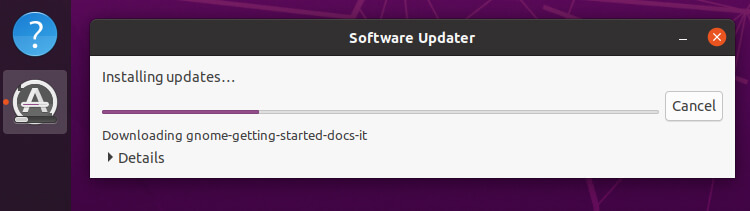
5. I chose to install all requested updates before moving forward. (this option was automatically provided on startup.) You can see progress using the Software Updater app on the left bar.
6. Once updates are complete, use “Show Applications” in the lower left to find and run Terminal.
7. You’ll need to install Perforce to grab the source, you can see detailed instructions at this Perforce Linux Installation link, but here are the commands for Ubuntu 20.04. Note that focal represents the Ubuntu version, which can be seen via lsb_release -a as needed. Run these commands in the Terminal:
wget -qO - https://package.perforce.com/perforce.pubkey | sudo apt-key add -
sudo sh -c 'echo "deb http://package.perforce.com/apt/ubuntu focal release" >/etc/apt/sources.list.d/perforce.list'
sudo apt-get update
sudo apt-get install helix-cli
8. Set up basic Perforce configuration, using your favorite text editor or just the command line to set up P4PORT to point to your chosen server and P4USER to your username, make sure to replace your.name in this example with your username. Note that we set P4EDITOR to nano, you can leave this out if you know how to use vim. (the default) Run these commands in the Terminal:
echo "P4PORT=ssl:perforce.yourdomain.com:1666" >~/.p4config
echo "P4USER=your.name" >>~/.p4config
echo "P4EDITOR=nano" >>~/.p4config
echo 'export P4CONFIG=".p4config"' >>~/.bashrc
echo 'export P4IGNORE=".p4ignore"' >>~/.bashrc
source ~/.bashrc
p4 trust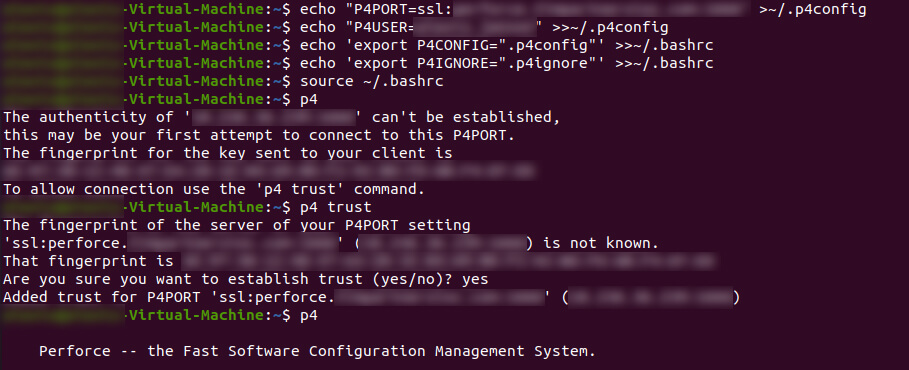
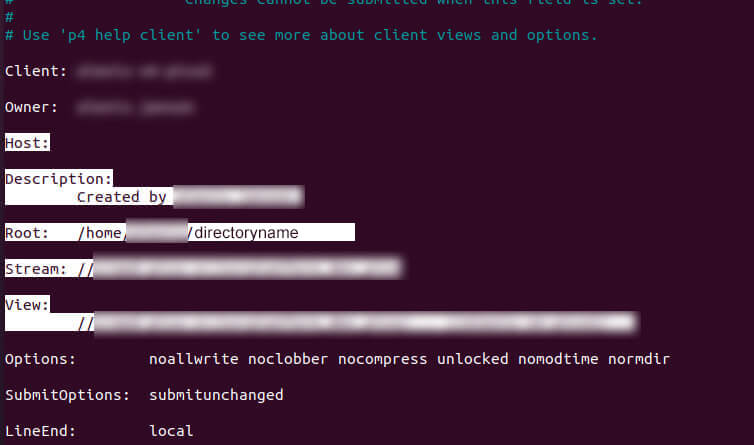
9. Now you need to set up your Perforce workspace (“client”) and download all the source code. In your terminal, run the command p4 client YOUR-CLIENT-NAME (I use your-name-project in this example) and in the editor that spawns, make sure the Root, Stream, and View fields are filled out properly as shown below. You may also optionally clear the Host field if you need to use the client from a different machine/VM than you’re creating it on. *Don’t try to use the same client to sync on two machines at once, though, unless you know what you’re doing.
Remember in this example here that /home/yourname should match your Linux home directory (/directoryname can be whatever you want but will be what I’m using in these examples) and yourname-vm-project is the name of the client itself from earlier in this step; the rest of this should be written exactly as shown, to map to the existing Perforce stream
Root: /home/yourname/directoryname
Stream:	(your specific path)
View: (your specific path)... //yourname/...
10. Once you’ve saved your client definition, you’ll want to switch to that client and sync. This will populate your ~/directoryname (or equivalent) directory. Again, remember that yourname-vm-project should be changed to whatever you named your client earlier. Run these commands in the Terminal:
echo "P4CLIENT=yourname-vm-project" >>~/.p4config
p4 sync